Follow me on:
Homemade AIP Sauerkraut: A Simple, Gut-Boosting Fermented Recipe for Autoimmune Health
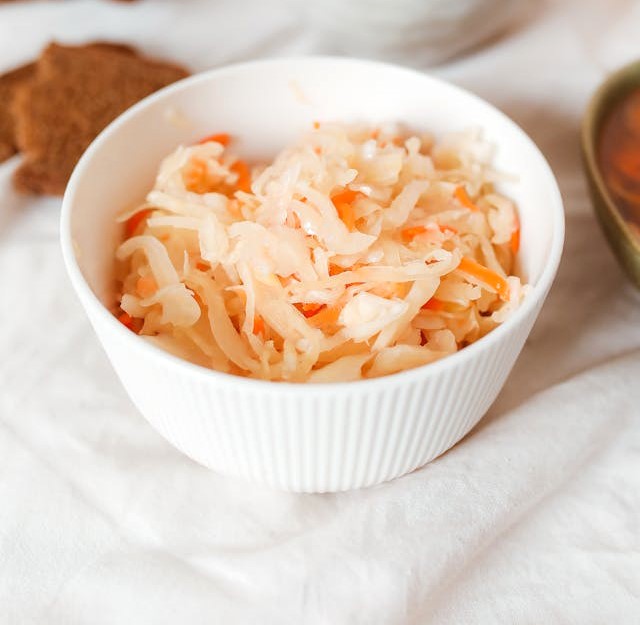
Homemade AIP Sauerkraut is more than just a tangy side dish—it’s a powerhouse for gut health. Homemade AIP Sauerkraut, made with simple, wholesome ingredients, is a great way to boost digestion and overall well-being. Whether you’re following an autoimmune protocol (AIP) or just want to add probiotics to your diet, sauerkraut is a must-try!
Making sauerkraut at home is easy and rewarding. This recipe uses cabbage, dill, garlic, and salt to create a fermented treat packed with health benefits. Here’s why incorporating this fermented food into your diet can support your health journey.
Benefits of Homemade AIP Sauerkraut
1. Supports Gut Health
Fermented foods like sauerkraut are rich in probiotics, beneficial bacteria that help balance the gut microbiome. These probiotics support digestion and strengthen the immune system, both important for those with autoimmune conditions. A healthy gut can reduce inflammation and improve nutrient absorption.
Rich in Nutrients
Cabbage is packed with vitamins and minerals, including vitamin C, which boosts immunity. During the fermentation process, nutrients are enhanced, making sauerkraut even more nutrient-dense. It’s a great addition to any autoimmune-friendly or paleo diet.
3. Aids Digestion
Fermented foods like sauerkraut are easier to digest because the fermentation process breaks down complex compounds. This makes sauerkraut a great option for people with autoimmune gastritis or other digestive issues. The probiotics also promote healthy digestion by maintaining a good balance of gut bacteria.
4. Boosts Immune Function
The probiotics in sauerkraut play a key role in supporting your immune system. By improving gut health, they help reduce inflammation and prevent overactive immune responses, which is especially beneficial for people with autoimmune diseases.
5. Easy to Make at Home
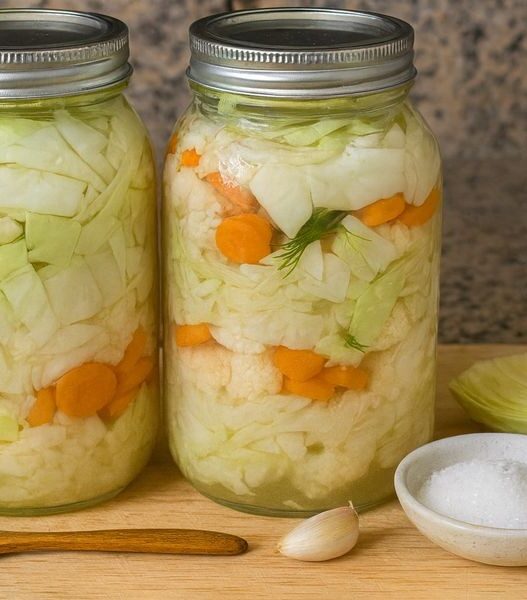
Homemade sauerkraut is simple to prepare and doesn’t require special tools. The process involves cutting cabbage, mixing it with garlic and dill, and fermenting it in jars with a saltwater brine. The natural fermentation takes 1-2 weeks, after which you’ll have a delicious, tangy treat ready to enjoy.
Ingredients:
1 medium green cabbage (about 3 lbs): This is the star of the recipe, providing the base for your sauerkraut. Green cabbage is the most common variety used, as it has the perfect balance of flavor and texture for fermentation. It’s also rich in vitamins A, C, and K, as well as fiber, which are essential for immune health and digestion. You can also use red cabbage as well.
1 carrots, grated: Carrots add a natural sweetness and crunch to the sauerkraut, balancing the tartness from the fermentation process. They also provide additional antioxidants and nutrients like vitamin A, which supports eye health and immune function.
4 cups (1 L) water: The water creates the brine that helps the cabbage ferment. Use filtered water to avoid any additives that might interfere with the fermentation process.
1 Tbsp (30-35 g) salt (non-iodized): Salt is crucial in the fermentation process. Non-iodized salt, such as salt for pickling, is recommended because iodine can inhibit the growth of beneficial bacteria. The salt helps draw out the moisture from the cabbage and encourages fermentation by creating an anaerobic environment.
1 Tbsp fresh dill (optional): Dill adds a classic herbaceous flavor to the sauerkraut. It’s an optional addition, but if you love the taste of dill, it will elevate the flavor and enhance the overall taste of your sauerkraut.
2 garlic cloves, sliced: Garlic brings a subtle depth of flavor and adds extra health benefits. Known for its antimicrobial properties, garlic also supports gut health and has immune-boosting effects, making it a perfect addition to any fermented dish.
.
Homemade AIP Sauerkraut Instructions:
Prepare the Cabbage: Begin by removing the outer leaves of the cabbage if they are wilted or damaged. Give the cabbage a thorough wash to ensure no dirt remains on the surface.
Cut the Cabbage: Slice the cabbage in half using a sharp knife, cutting through the core. Then, cut each half crosswise into very thin ribbons. The thinner the slices, the better the cabbage will ferment, but feel free to adjust based on your preference. Alternatively, you can use a grater with a vegetable slicing surface for quicker results.
Combine the Ingredients: Transfer the shredded cabbage into a large, clean bowl. Add the fresh dill and sliced garlic cloves and grated carrot. Mix everything thoroughly, making sure the cabbage is well-coated with the seasoning. You can use your hands for this step—massaging the cabbage helps release its natural juices, which will contribute to the brine.
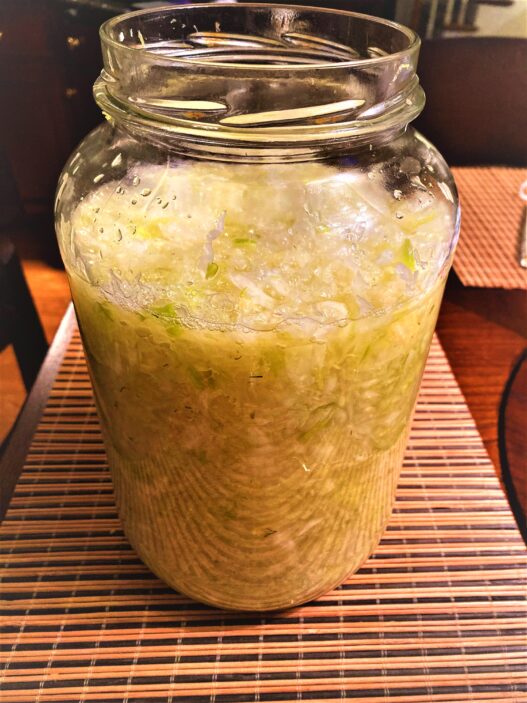
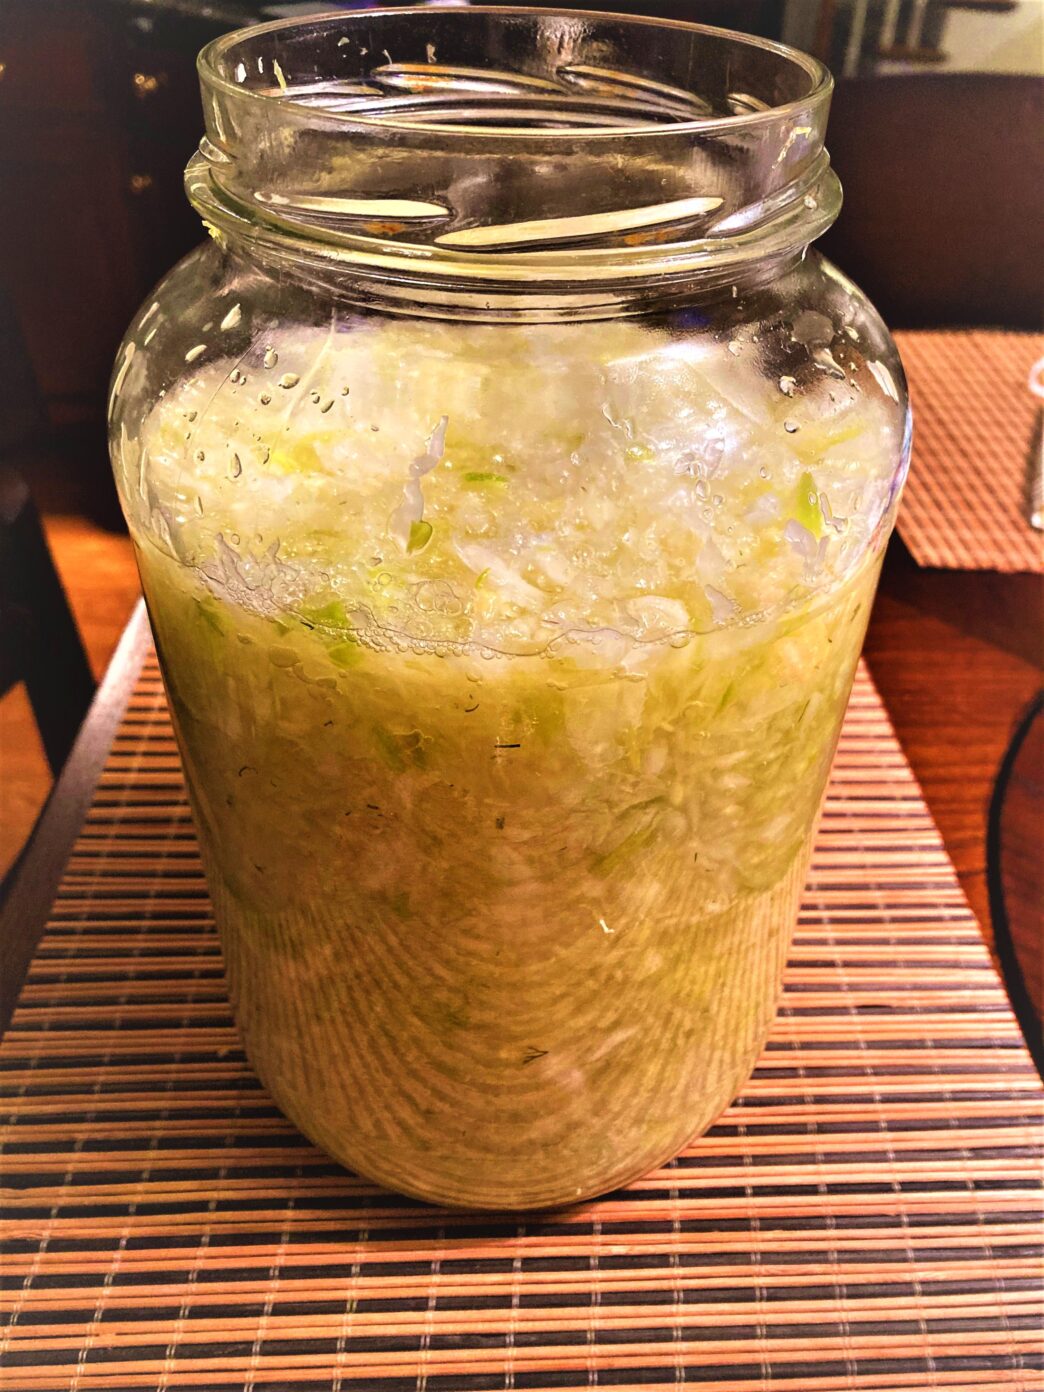
Pack the Cabbage into Jars: Begin transferring the cabbage mixture into clean canning jars. Pack the cabbage tightly, but be sure to leave some space at the top of the jar. You should fill the jar about halfway to two-thirds of the way. The space is necessary for the cabbage to ferment properly and expand slightly during the process.
Prepare the Brine: In a separate pot, bring 4 cups of water to a boil. Add the salt and stir until it’s completely dissolved. Once the salt is dissolved, let the water cool until it reaches room temperature. The brine should never be too hot, as it could kill the beneficial bacteria necessary for fermentation.
Add the Brine: Pour the cooled brine over the cabbage in the jars. Ensure the cabbage is fully submerged in the brine. Leave about 1.5 to 2 inches of space at the top of the jar to allow room for the cabbage to expand as it ferments. It’s essential that the cabbage stays submerged, so it doesn’t dry out or mold.
Weigh Down the Cabbage: Place a weight on top of the cabbage inside the jars. This could be a clean small plate, a glass fermentation weight, or any other object that keeps the cabbage submerged. This step is critical to ensure the cabbage remains in the brine throughout the fermentation process.
Ferment the Cabbage: Now, it’s time to let the cabbage ferment! Leave the jars at room temperature for about 1 to 2 weeks, depending on your preference and room temperature. Check the jars daily to ensure the cabbage remains submerged and there are no air bubbles rising to the top. The longer it ferments, the tangier it will become.
Store the Sauerkraut: Once the sauerkraut has reached the desired level of fermentation, remove the weight and cover the jars with their lids. Transfer the jars to the refrigerator, where the sauerkraut will continue to ferment at a slower rate. It can be stored in the fridge for several months, and the flavor will continue to evolve.
Final Thoughts
Homemade AIP Sauerkraut is a simple, nutrient-packed food that can make a big difference in supporting your gut health and immune system. With its probiotic benefits, it’s the perfect addition to any autoimmune diet. It is also very versatile: can be added to salads, served alongside your favorite dishes, or enjoyed as a tangy snack. The versatility of this fermented food makes it a valuable addition to any meal.
Give it a try and enjoy the benefits of fermented foods in your daily routine!
Homemade AIP Sauerkraut
Course: Side Dishes, Sides, Condiments, Dinner, Lunch, SaladsCuisine: German, Eastern EuropeanDifficulty: Easy4
servings30
minutes90
kcal1/2
cup1-2
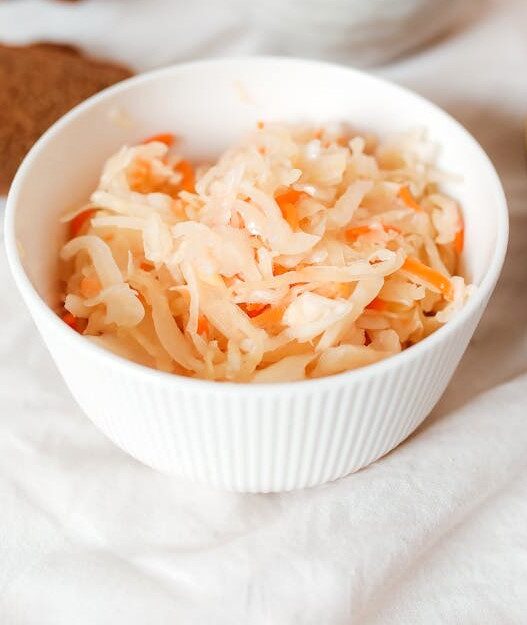
weeksHomemade AIP Sauerkraut is a probiotic-rich, tangy fermented dish made with cabbage, carrots, garlic, and dill. It's a nutritious, gut-friendly side or condiment, perfect for dinner or lunch.
Ingredients
1 medium green cabbage (around 3 lbs)
4 cups (1 L) water
1 Tbsp (30-35 g) salt (non-iodized, preferably for pickling)
1-2 garlic cloves, sliced
1 Tbsp dill powder (optional)
1 medium carrot, grated
Directions
- Remove outer wilted cabbage leaves and wash the cabbage thoroughly.
- Cut the cabbage in half and then into very thin ribbons.
- In a large bowl, combine the cabbage with dill and garlic.
- Transfer the cabbage mixture into clean canning jars, filling only halfway.
- Boil the water with salt until dissolved, then let it cool to room temperature.
- Pour the brine into the jars, leaving about 1.5 to 2 inches of space at the top.
- Place a weight on the cabbage to keep it submerged.
- Allow the cabbage to ferment for 1-2 weeks at room temperature.
- Once fermentation is complete, store the sauerkraut in the refrigerator.
Notes
- Weighting the cabbage: Ensure the cabbage stays submerged in the brine during fermentation to prevent mold from forming. A small plate or glass weight works well.
- Scum removal: During the first few days of fermentation, you may notice a white scum or foam forming on the surface. Simply remove it with a clean spoon.
- Flavor adjustments: Feel free to experiment by adding other AIP-friendly herbs like caraway seeds or juniper berries for a unique twist (only if they are reintroduced in your diet without any symptoms).
- Fermentation time: The sauerkraut will ferment at room temperature for 1-2 weeks, depending on the ambient temperature and desired tanginess.
- Storage: Once fermented, store the sauerkraut in the refrigerator to slow down the fermentation process. It can last for several months.


